
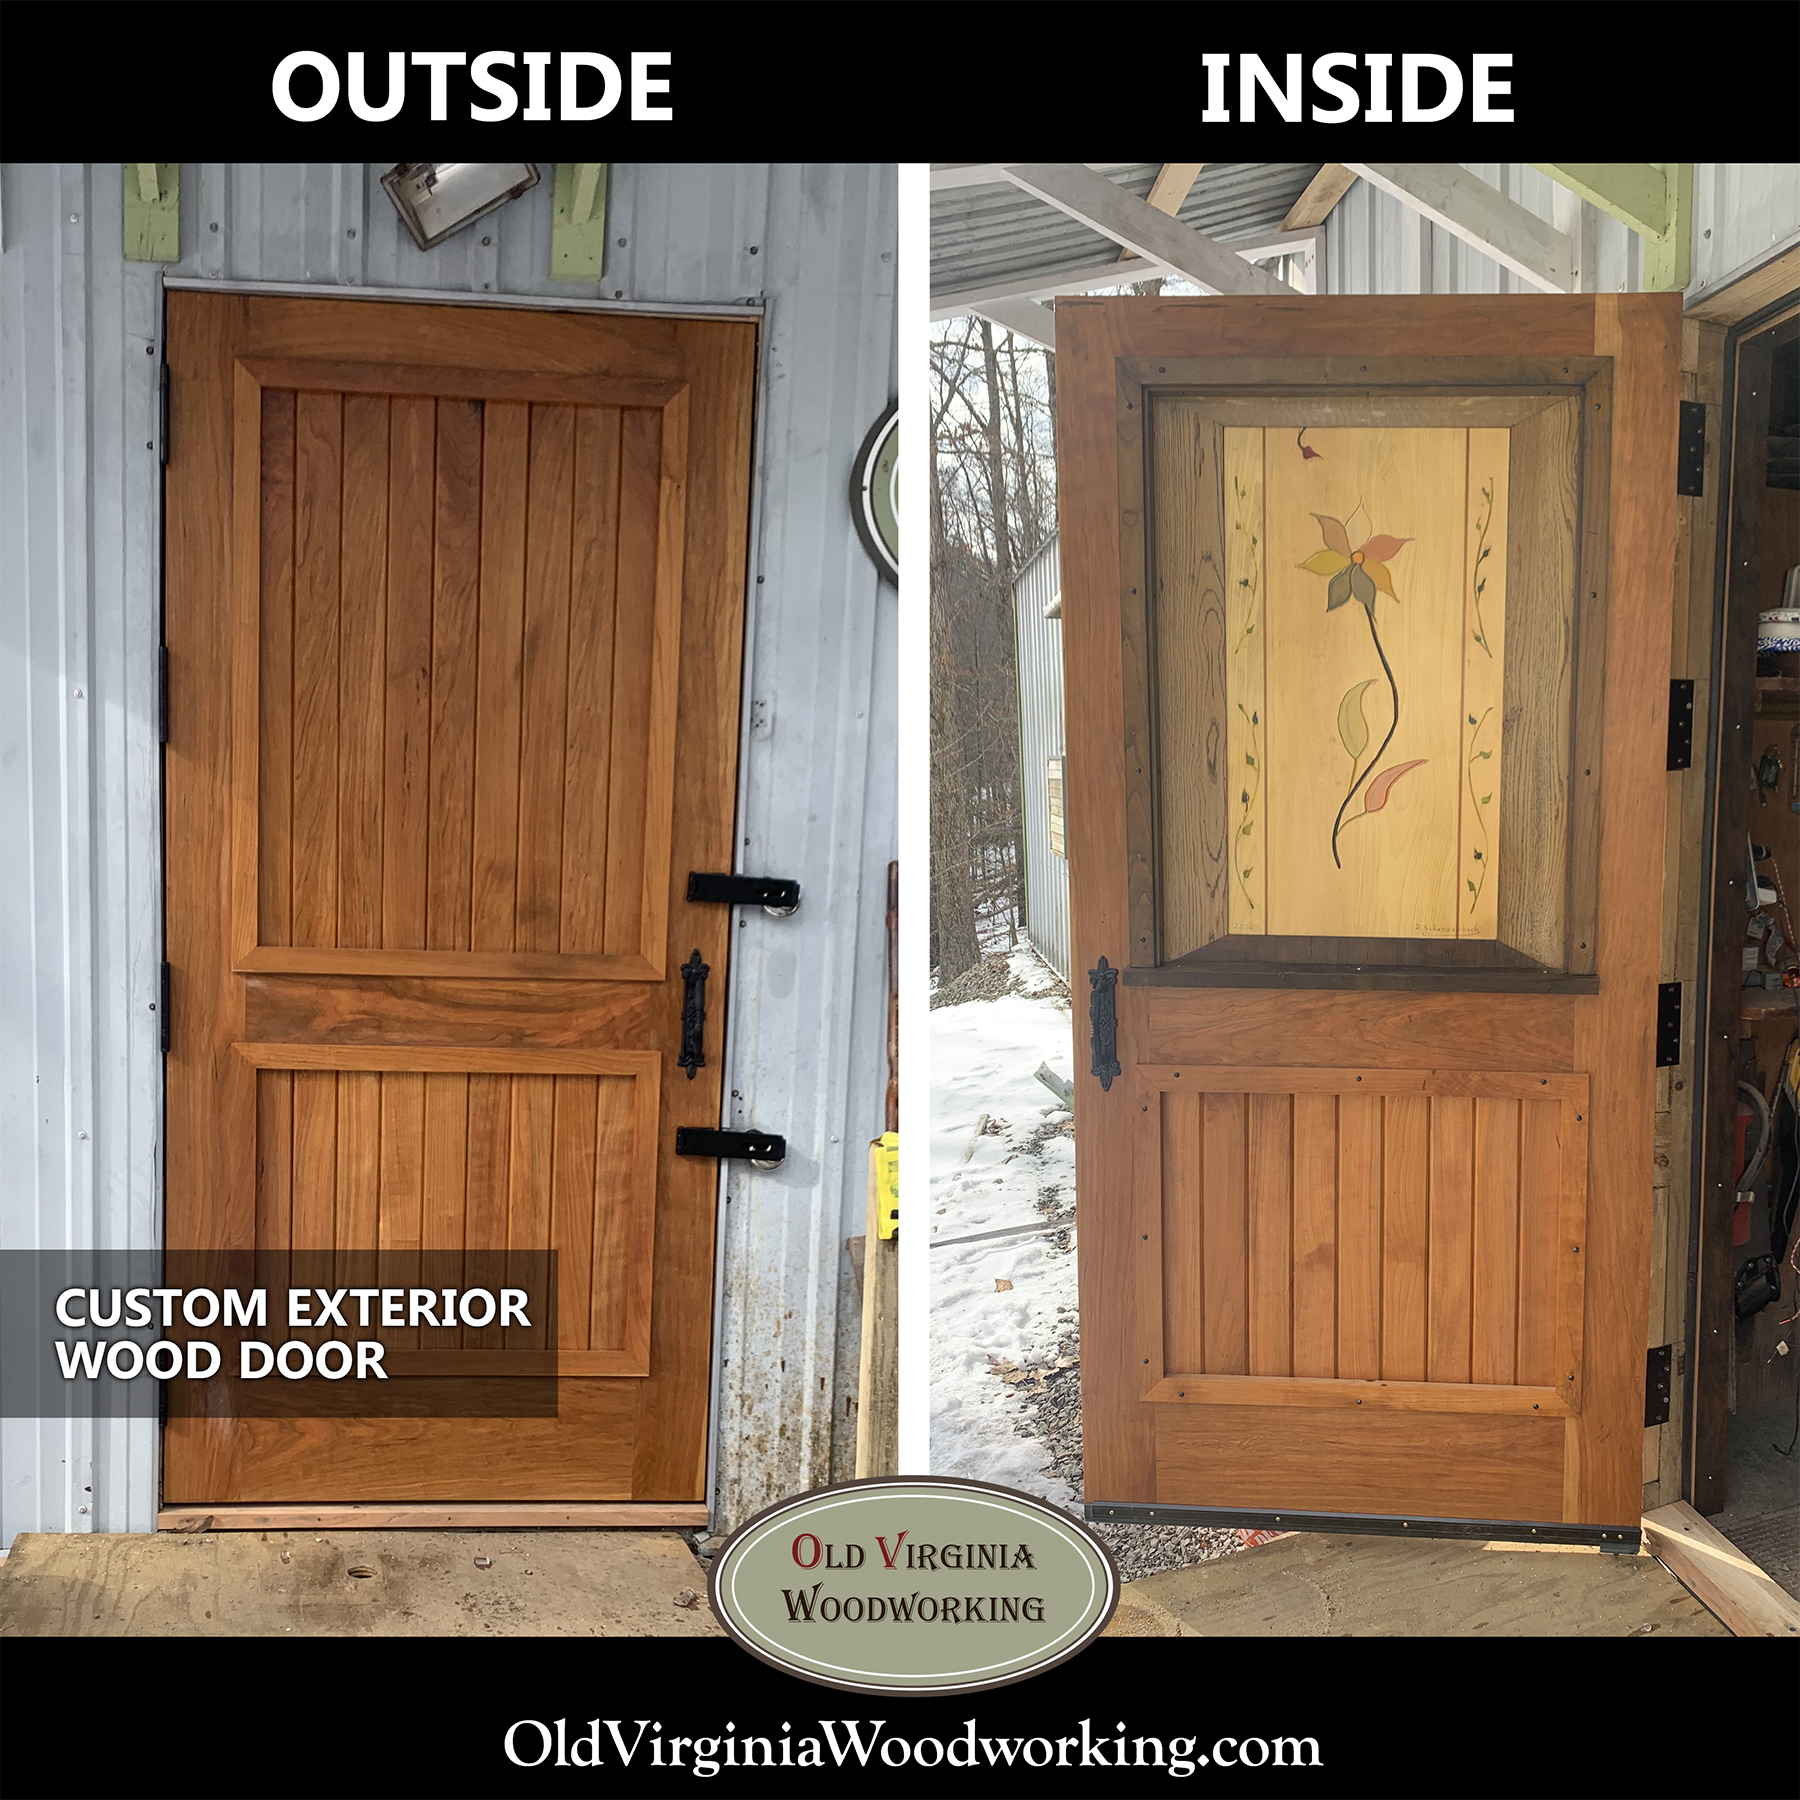
Designing a Custom Wood Shop Door
My new shop door (Man Door as some blueprints would label it) was in the planning for quite a while.
At thirty-eight years of service, the old, smooth-faced steel door, was well past its to-be-used-by date. One weird thing about those cheapie hollow steel doors is that they have an interior frame of pine. The manufacturers have some way of stamping out thin sheet metal and wrapping it around the frames. That’s all good and great but inside that sheet metal cocoon, moisture condenses, soaks the wood frame, and rots it out. Kinda like a chocolate covered cherry with the cherry rotten. It can look well enough on the outside but the inside disappoints. Hence, the hinge screws were no longer holding and the door was ready to fall off the building.
The Old Virginia Woodworking shop needed a new exterior door.
I toyed around with ideas for quite a while, wanting to build something that would improve the look of the shop. I have a large easel, so I set up a tablet and started sketching. Artsy projects attract me. I wanted to make something that would catch the eye but not be crazy strange. After drawing several sample designs, I came up with the flower and vines you see in the photos here (more on the design below).
I want people who visit my shop to see something lovely when they drive up, and I want to see something lovely every day when I go to work.
Making the door
Before working on the art panel, we had to build the main frame of the door and the plain panels for the other sections of the door.
We wanted to build a door that would 1) be cool to build and 2) was visually impressive. That is why the door is almost 4” thick. It took five layers of glued up cherry boards to make this beast.
I had a few pieces of ropey cherry that I had acquired at an auction. Ropey cherry is just cherry wood with a slightly loopy grain. It is clear of knots, very classy, and I had several wide beautiful boards of it.
When we glued up this 4” thick board sandwich, we faced all the outside with beautiful ropey cherry. The inner boards had quite a few knots, but they are invisible under the better boards – call it a knotty cherry sandwich with ropey cherry bread.
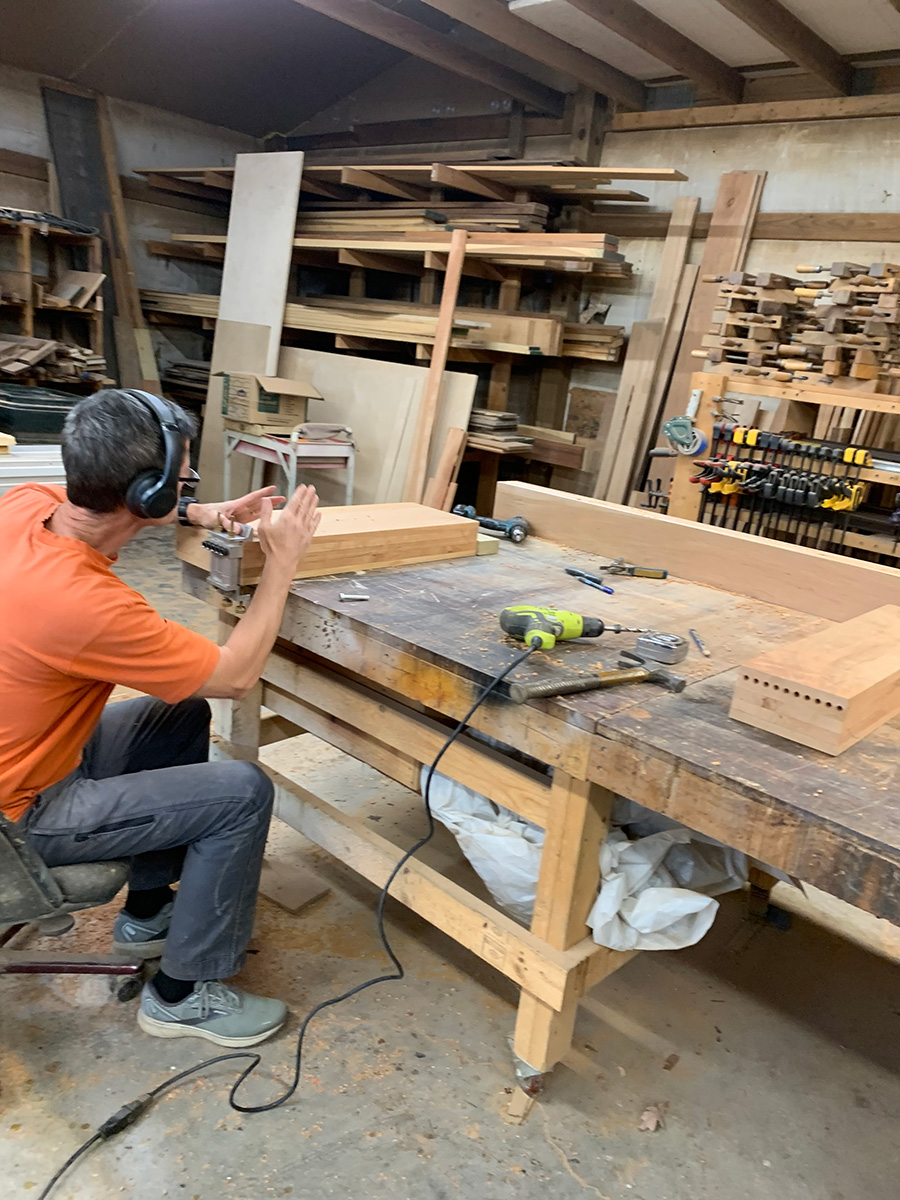
Next we milled up the stiles and rails for the door and prepared them for assembly. We dowel all our custom doors together. On this big exterior door we drilled double the usual number of dowel holes — well over 100, 2.5” long dowels. Then we used a slow-drying epoxy to assemble it which gave us plenty of working time for the adhesive before we had to be done clamping it up.
At this point it was a door frame with no panels in it.
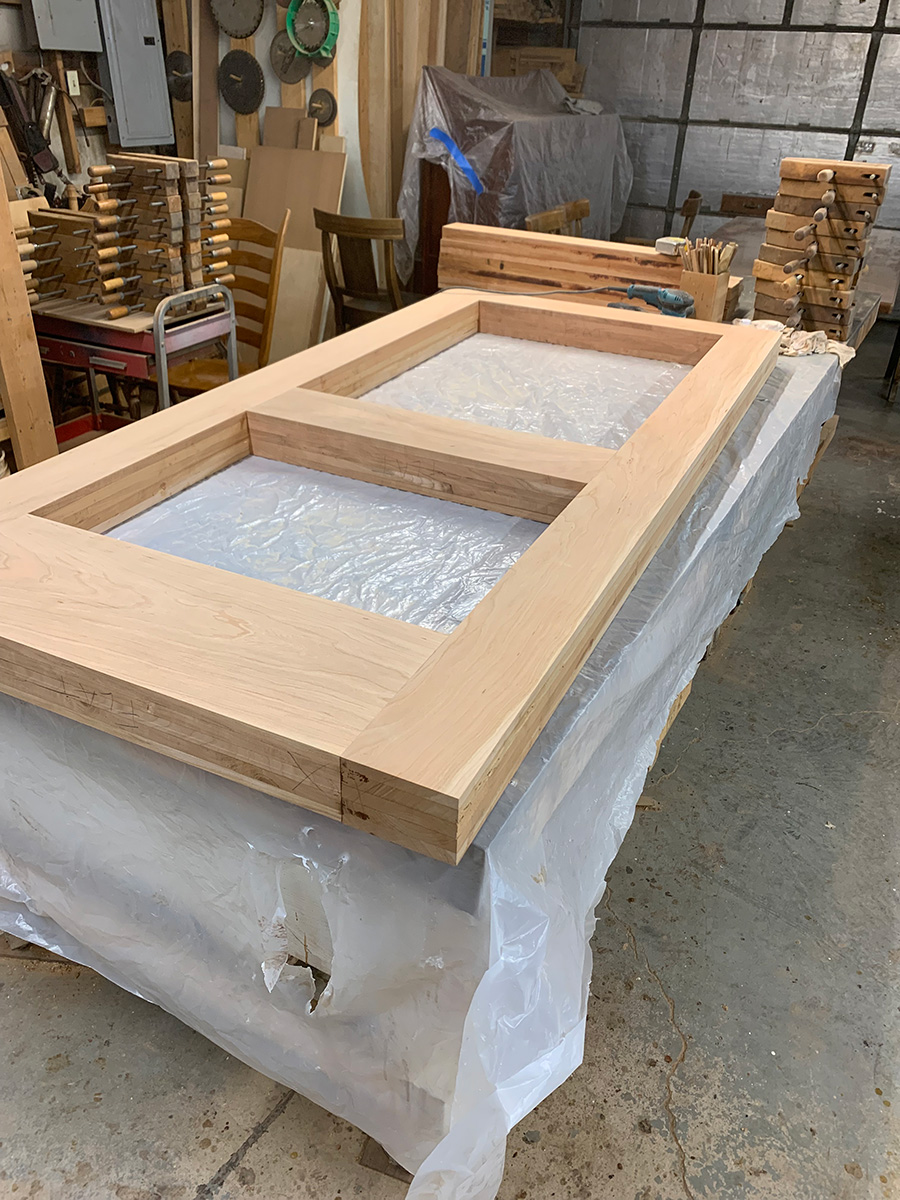
At an almost 4” thickness of solid cherry, this frame was pretty darned heavy. From here on we had to have two or three men to move it around or to flip it over on the benches.
I decided to put vertical 4” wide panels in the outside upper and lower panels. I have found that, with almost any design work, narrow lines create a dressier, classier look. That idea carries through from architectural applications even down to what we wear. After all, which shirt is dressier, the one with the narrow stripes or the one with the wide stripes? I am not a fashion consultant, but I think I got this right, the narrow stripes.
Andy, my faithful assistant, glued up the thicknesses of wood needed and fashioned the panels. The lower panels are the same thickness as the door. The upper panels are half the door thickness. The decorative panels only show on the outside of the door. He did a great job as you can see.
At this point the door was almost bullet proof as a few of our customers liked to mention.
Creating the decorative art panel
With the rest of the custom door assembled, the art panel for the inside upper section was all that was left. I designed and built that panel with my own hands.
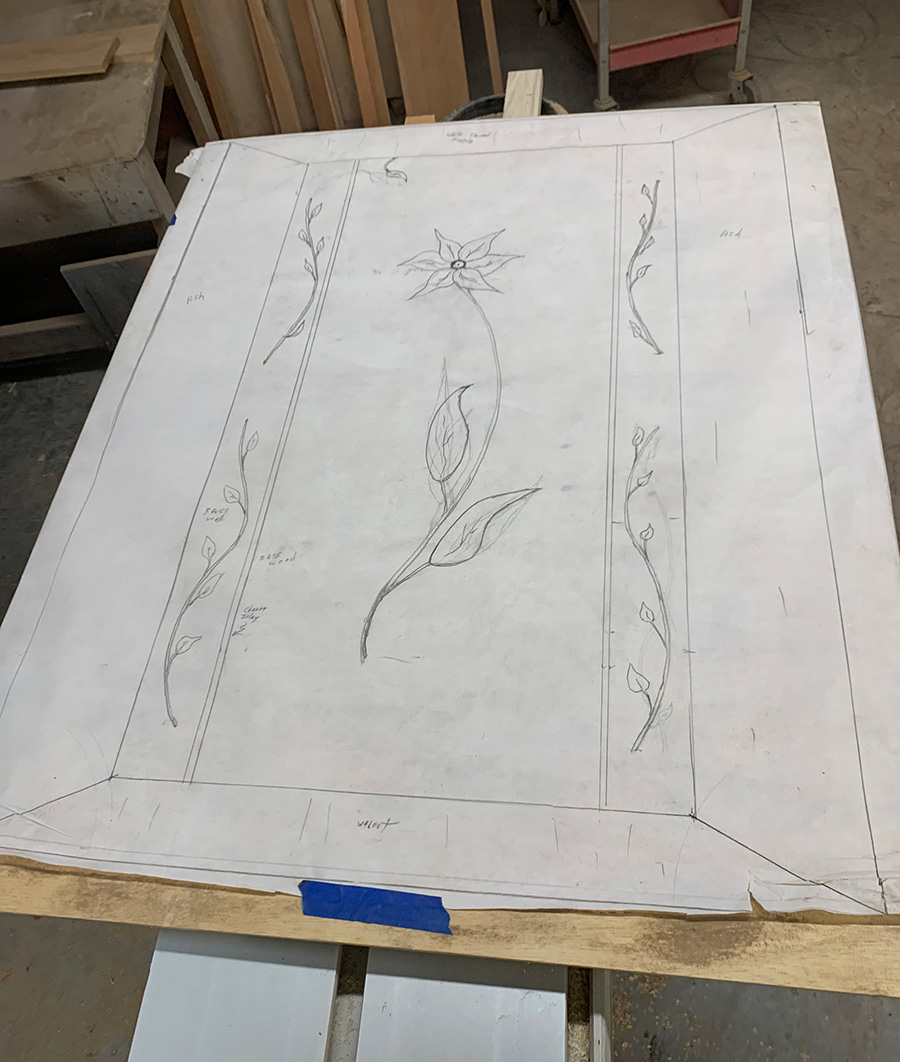
I started by drafting a full-size drawing on vellum. By this time, I pretty much knew what I was going to do so it really did not take very long. The panel itself is made of bass wood (for ease of carving) and then two vertical stripes of cherry.
After gluing it all up and sanding it with my big drum sanding machine, I cut the panel to its final size and fit it to the door.
Then I started the carving.
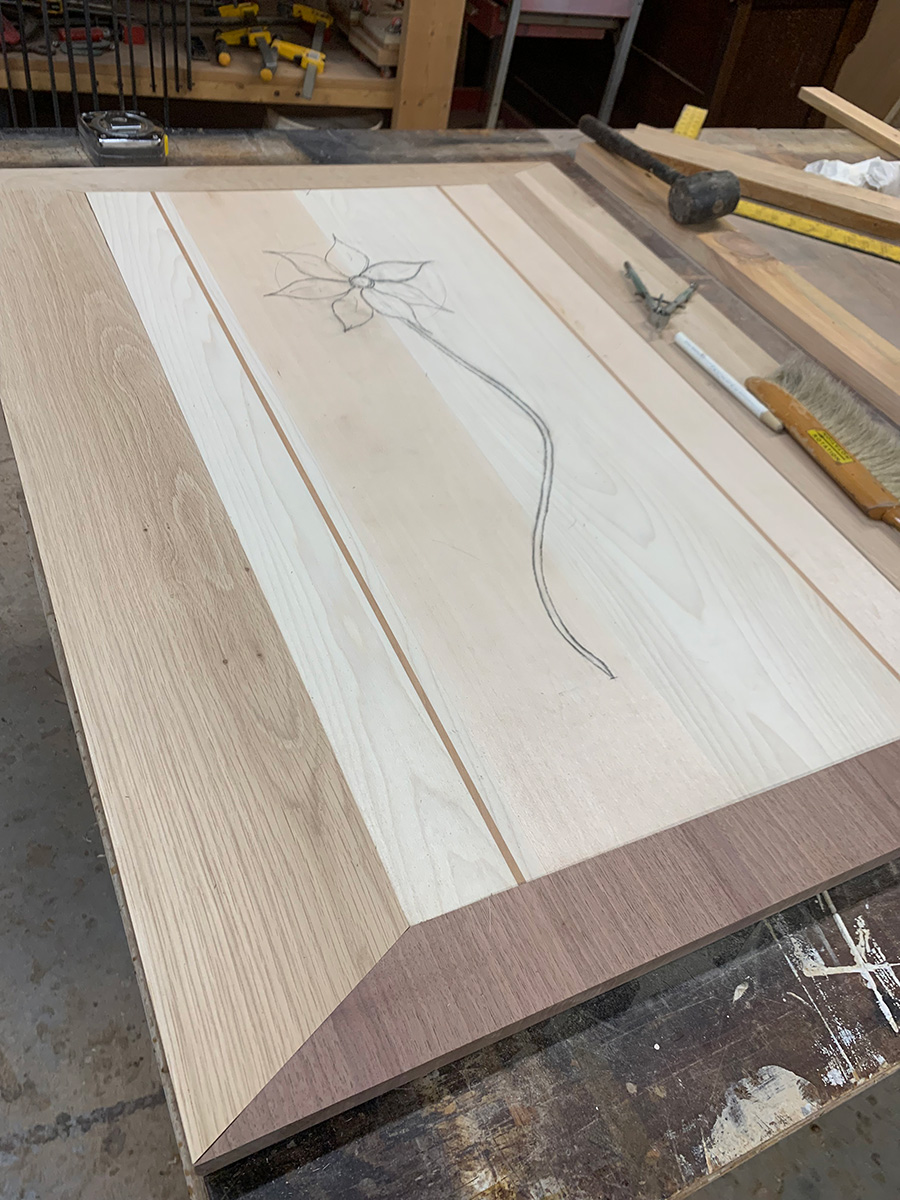
This panel is all handcarved. First I carved out the vines along the sides. Then I filled them with three values of green epoxy, swirled a little. After the epoxy cured I sanded it, grading up to about a #220 or finer sandpaper. In one place I sanded all the way through the green epoxy to the underlying basswood. I was able to repair this by simply taking a charcoal pencil and giving it a couple of good clean strokes. You would think that a black line pieced into a green vine would show like crazy. It does not. Our eyes often see what we expect to see, so when people look at this carving, they invariably see green even where it is black charcoal pencil. There is likely some sort of life or spiritual lesson in this but I have yet to figure it out.
Once the vines were complete, it was time to carve the flower from my drawing. There was no way to transfer the large flower from my vellum drawing to the panel. But the advantage of having drawn (and redrawn) that flower, stem, and leaves was that my eye could easily tell my hands how to execute the work on the door panel.
Once it was drawn, I used a sharp V chisel to cut the shape. It really was not very difficult and anybody who has carved a little could have done it.
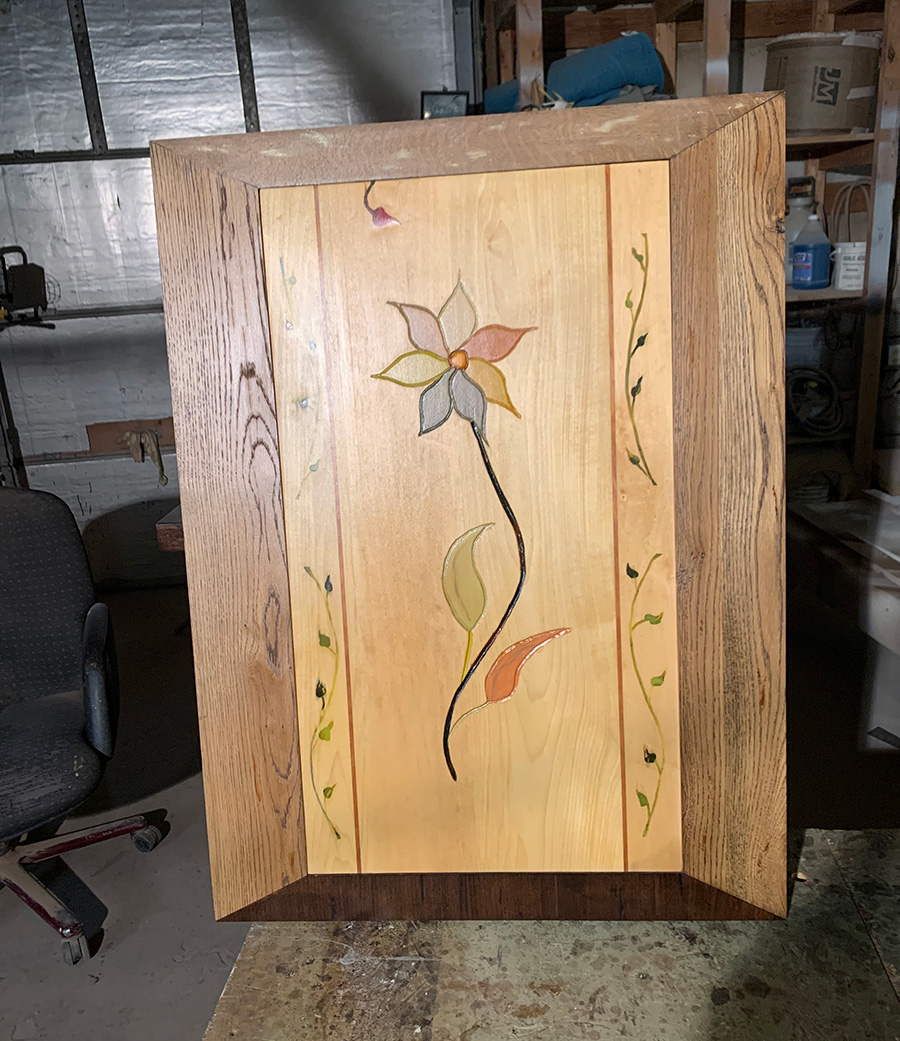
After the carving was done it was time for color. I used artist oils. If you mix primary colors with gray, you get pastels. I used pastels because I wanted the piece to have softness and simplicity. The stem in a dark color provided contrast.
Finally, to finish the panel, I clear coated the entire piece with Waterlox brand marine, tung oil finish. The marine connotation indicates the finish will protect the substrate from water and sun damage.
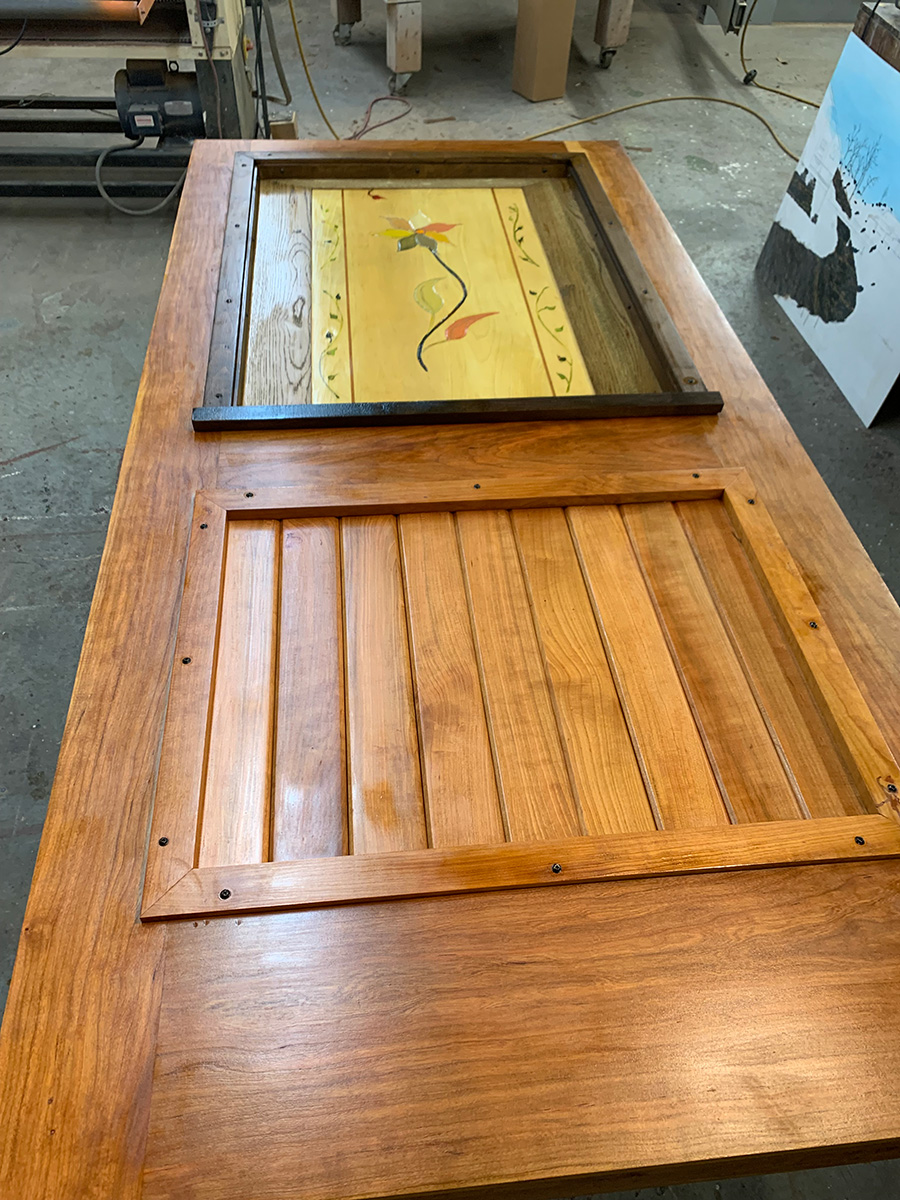
I installed the panel in the door and created the faux window sill and the surrounding wood trims. Oh, and I signed, dated, and folded that vellum original drawing and placed it behind the art panel inside the door. Maybe some guy a hundred years from now…
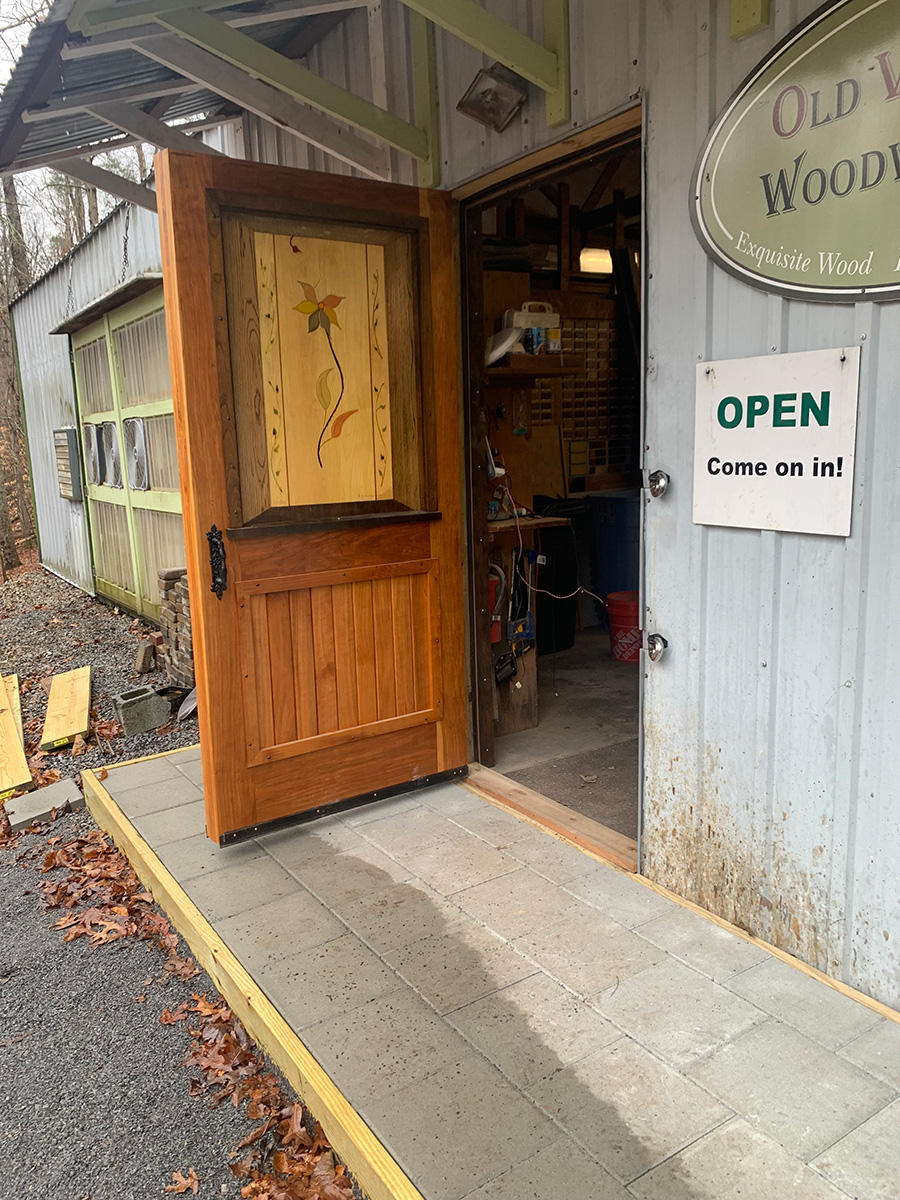
Then the door (all three or four hundred pounds of it) was ready to hang.
We used four, 6” steel, ball bearing hinges. I routed the hinge locations on the door, placed the hinges, and we hoisted it to its current position. This was no small feat considering its hefty weight. But there it hangs now, welcoming each customer who brings their antique pieces here for restoration and refinishing.